Visitors can take part in a Kutani-yaki experience with the two different options offered at Kutani-yaki Kiln Museum: wheel throwing and pottery painting. Using full-fledged tools and materials, visitors can experience the charms of Kutani-yaki by “making” it.
《Notes》
・To participate in a wheel throwing or pottery painting experience, you must be accompanied by someone who speaks Japanese.
・Please inquire in advance before the reservation days by phone as experiences will not be available on certain days due to various reasons.
・There is a separate experience fee payable in addition to the admission fee.
Wheel throwing experience
A Kutani-yaki craftsman will teach you how to throw a small plate or bowl by shaping clay as it turns on a potter’s wheel. As you will be working with clay, it is advisable to wear clothes that you feel comfortable moving around in and that you don’t mind getting dirty.
*The clay on the wheel will be turning automatically. Please inquire if you would like to use a traditional potter’s wheel, which is rotated by kicking the flywheel. (We may not be able to accommodate your request.)
Time required: approx. 1 hour
Experience fee: ¥3,000~ + Shipping fee
*For two items or more, an additional ¥2,000 will be charged per item.
*If the size of your work exceeds 15cm in diameter, an additional ¥500 or more will be charged depending on the size.
Capacity: a group of two will take turns as there is only one wheel available.
Experience flow:
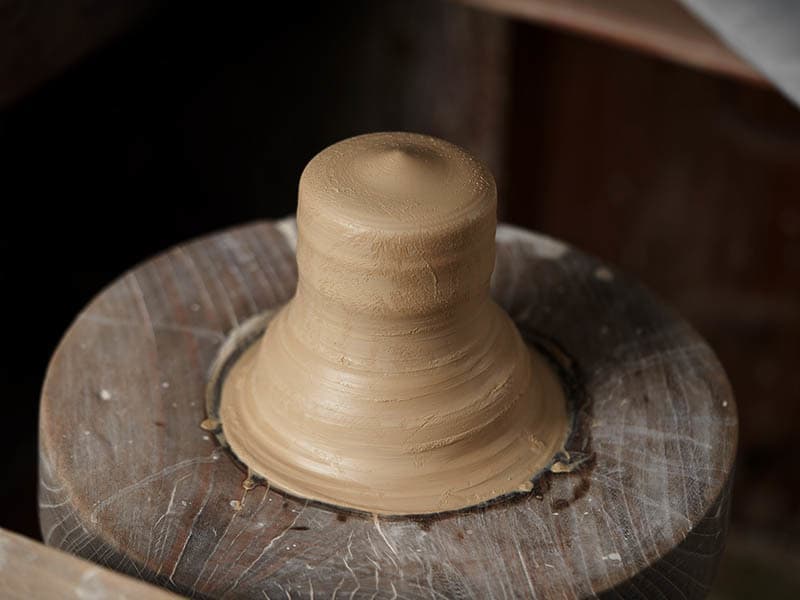
1. Preparation (Tuchi-Goroshi)
Stretch or compress a lump of clay as it rotates to stabilize the center of the clay. Making the clay rotate smoothly in the hands is the first step in wheel throwing.
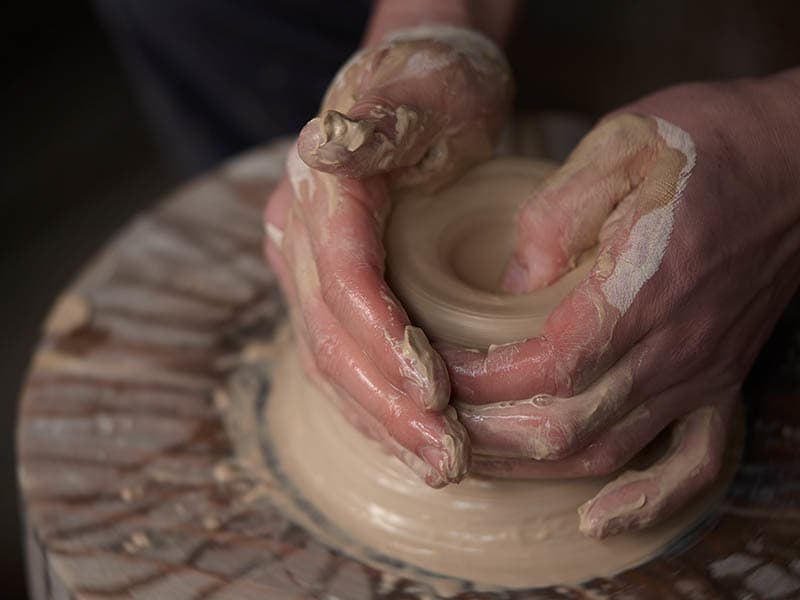
2. Centering and opening (Bai-biki)
Make a hole in a rotating lump of clay. Slowly sink both your thumbs into the middle of the clay. Take care not to miss the center.
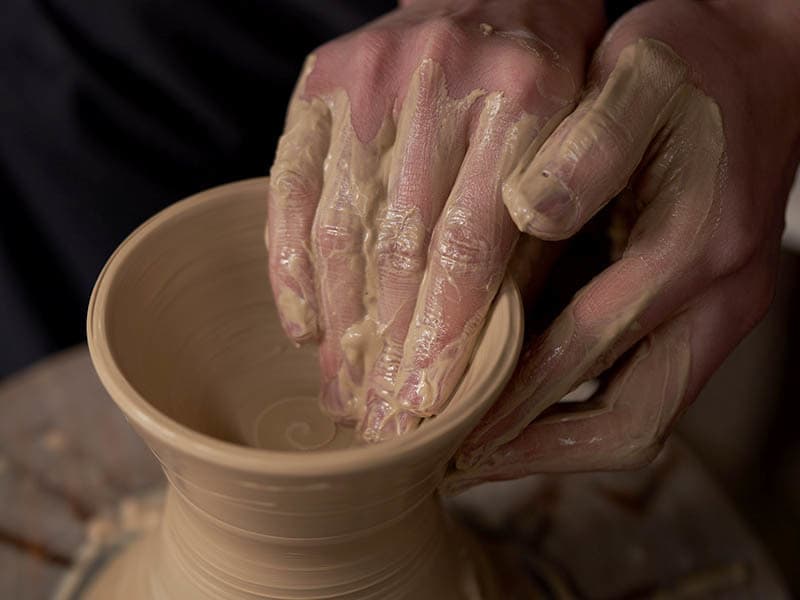
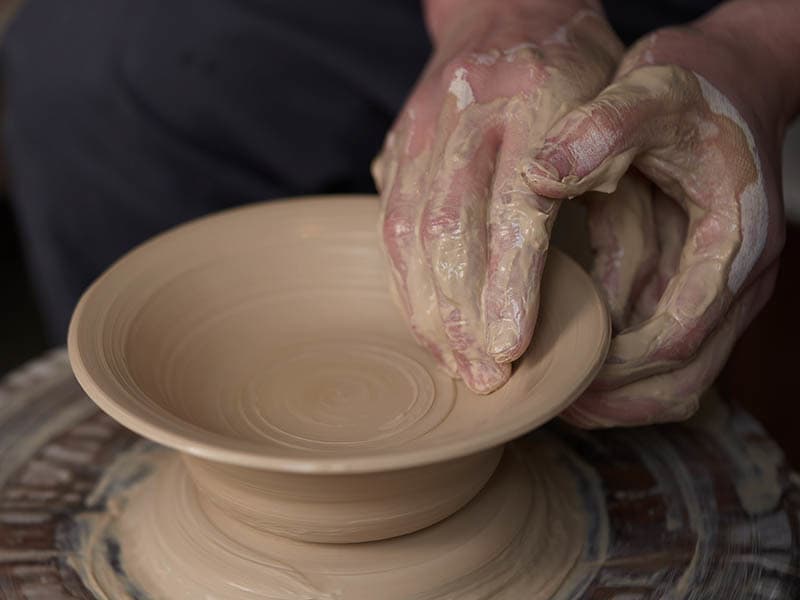
3. Throwing the walls (Nobashi)
Stretch the clay upward.
Pinch the clay using the fingers of one hand as you gently hold the rim with the fingers of the other hand to pull it up. Apply pressure evenly. Flatten the rim of the pot after pulling up. Repeat this process to form the pot.
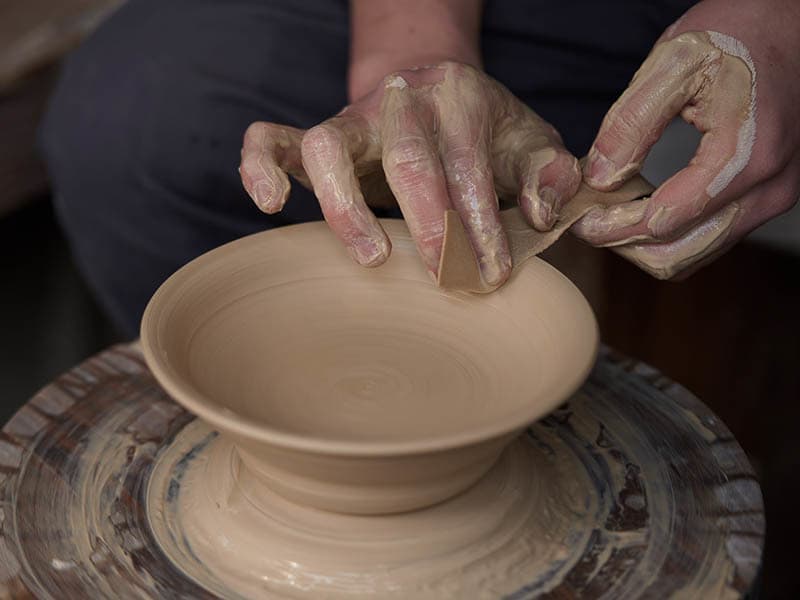
4. Trimming
Make the rim of the pot smooth by gently pinching it with a wet piece of deer leather.
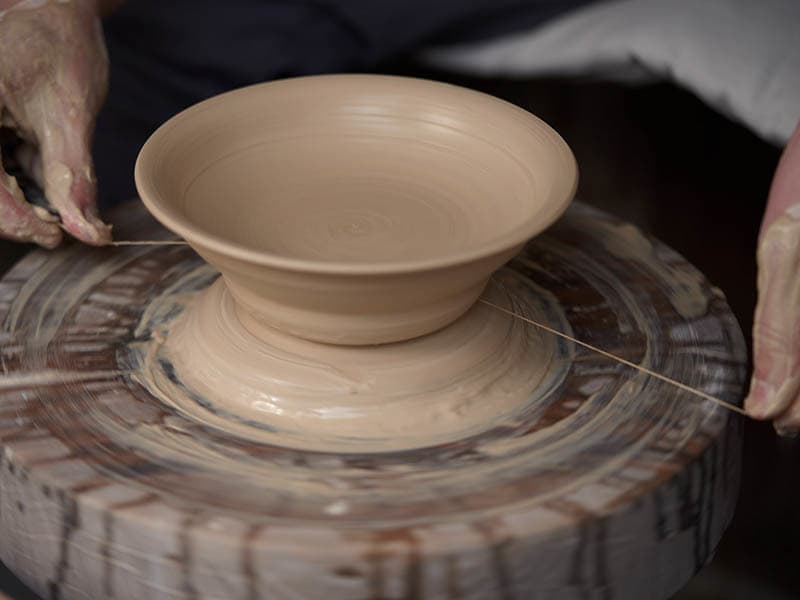
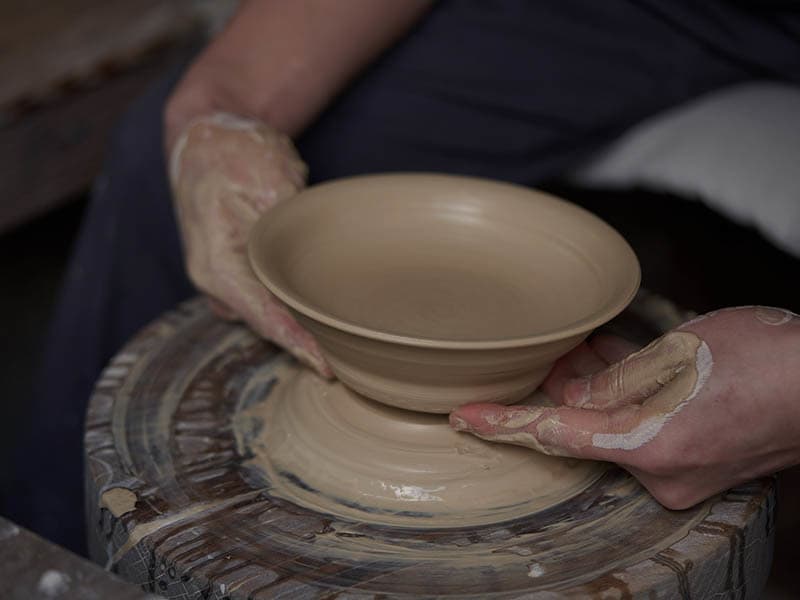
5. Removing the pot from the wheel
Use a thread to remove the thrown pot from the clay mass. Then, hold the bottom of the pot with your index and middle fingers so that it does not lose its shape, and move it to the board. If you are not confident with this, you can ask the craftsman to do it.
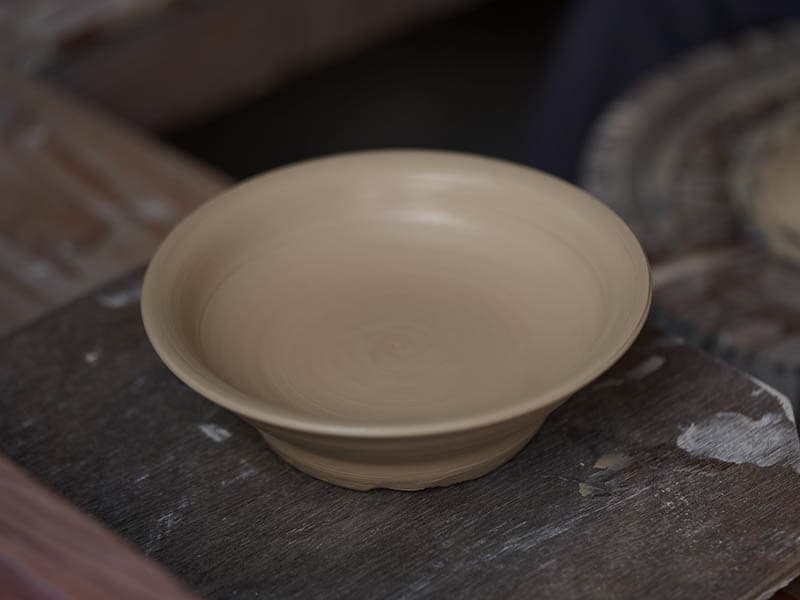
6. Finishing touches
The craftsman will dry and fire the pot before shipping the finished item. It will take around two to three months for your pot to arrive.
*The finished item will be 15 to 20% smaller than when thrown.
*Your work may be distorted or cracked during drying or firing.
Experience flow:
1. Preparation (Tuchi-Goroshi)

2. Centering and opening (Bai-biki)

3. Throwing the walls (Nobashi)
Pinch the clay using the fingers of one hand as you gently hold the rim with the fingers of the other hand to pull it up. Apply pressure evenly. Flatten the rim of the pot after pulling up. Repeat this process to form the pot.


4. Trimming

5. Removing the pot from the wheel


6. Finishing touches
*The finished item will be 15 to 20% smaller than when thrown.
*Your work may be distorted or cracked during drying or firing.

Pottery painting experience
Under the guidance of a Kutani-yaki craftsman, you will paint a glaze-fired white plate or cup.
Use the paints and tools that are actually employed by Kutani-yaki craftsmen. Have a go in a relaxed manner as you can partially modify or redo it as many times as you like.
Time required: 1.5 hours or longer
Experience fee: ¥2,000 - ¥3,500 (depending on the pot you paint) + Shipping fee
Capacity: maximum 8 people
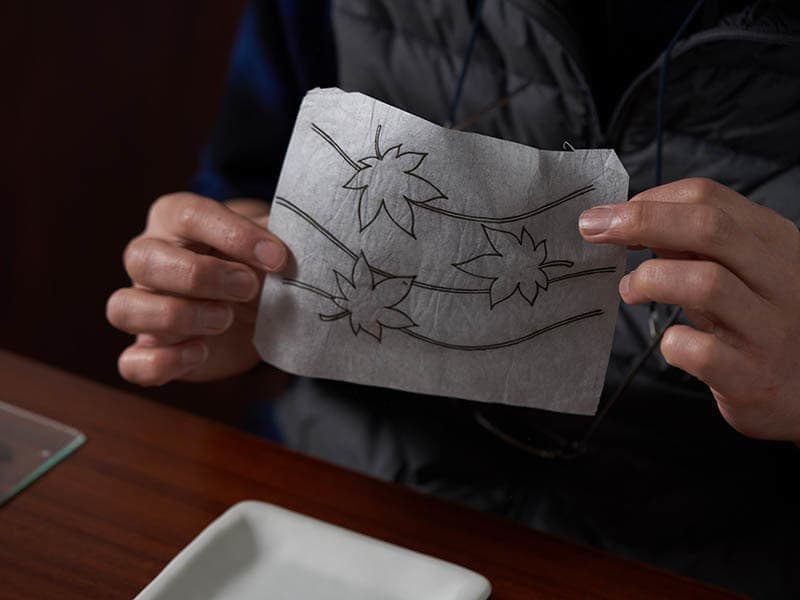
Experience flow:
1. Design
First, think freely about your design. You may refer to the works and materials in the museum.
If you are finding it difficult to think of an original design, you can use an existing design pattern.
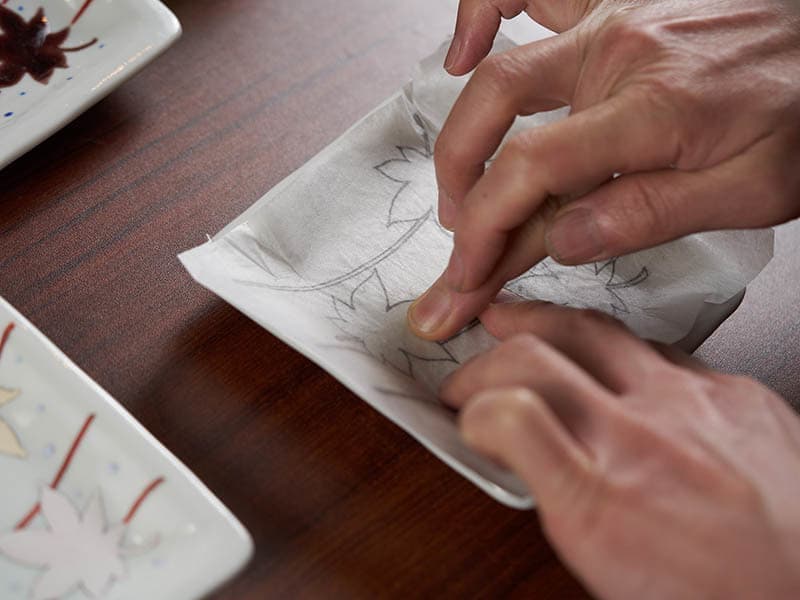
2. Apply gelatin to the pot
The gelatin acts as an adhesive for the paint. Apply gelatin to the entire surface to be painted and then dry it using a dryer. Do not touch the surface to which the gelatin has been applied.
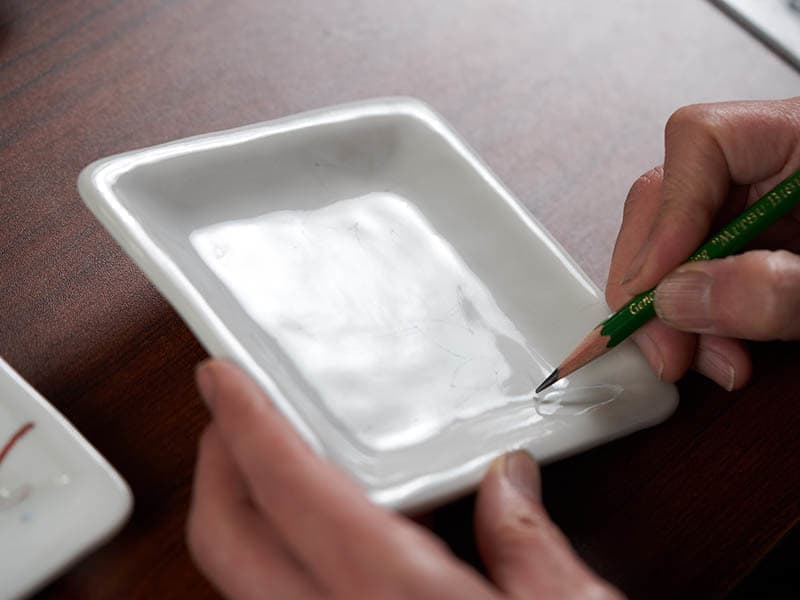
3. Sketch
Sketch a design using a pencil. A rough outline is fine as it’s only to use as a guide for painting. Draft lines are burnt off and disappear when the pot is fired during a later process.
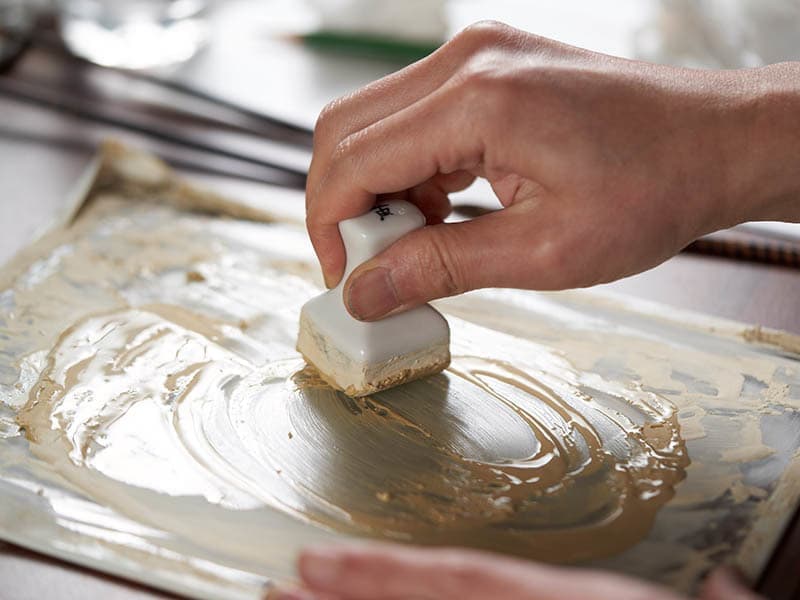
4. Preparation of paints
Five colors – red, yellow, green, dark blue, and purple – are placed on a glass plate. While adding water to the paint, rub it using a ceramic stick, like drawing an ellipse, to make it easy to apply.
Colors other than red will look different after the pot has been fired. It’s a good idea to use a simple color scheme to help you visualize the finished item.
5. Paint with a brush
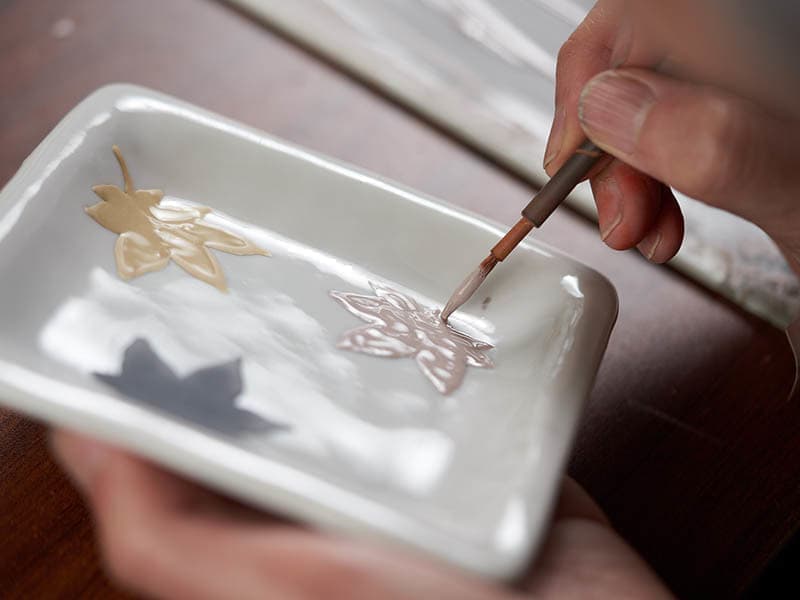
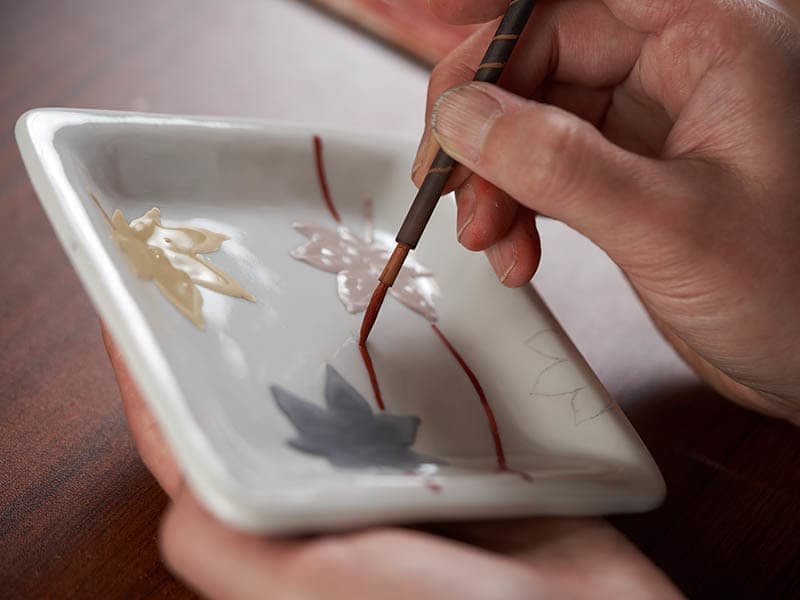
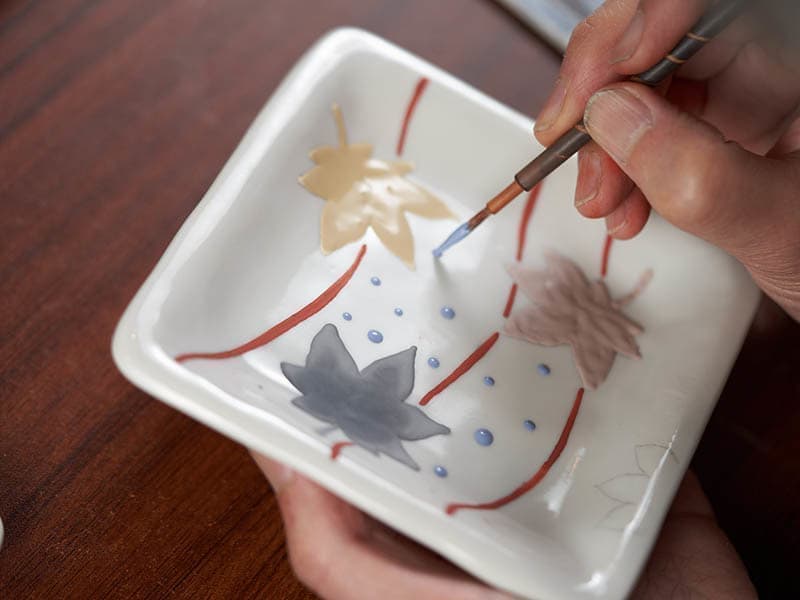
The four colors other than red will come out light if applied in small amounts, so take plenty of paint on the brush and apply it as if you are piling it up. If you wish to apply paint twice, layer it before the bottom paint dries.
Red will produce a strong color even when applied lightly, so move the brush freely. It is also suitable for detailed designs and writing characters.
*Colors cannot be mixed.
*Different colors cannot be applied on top of each other.
6. Sign
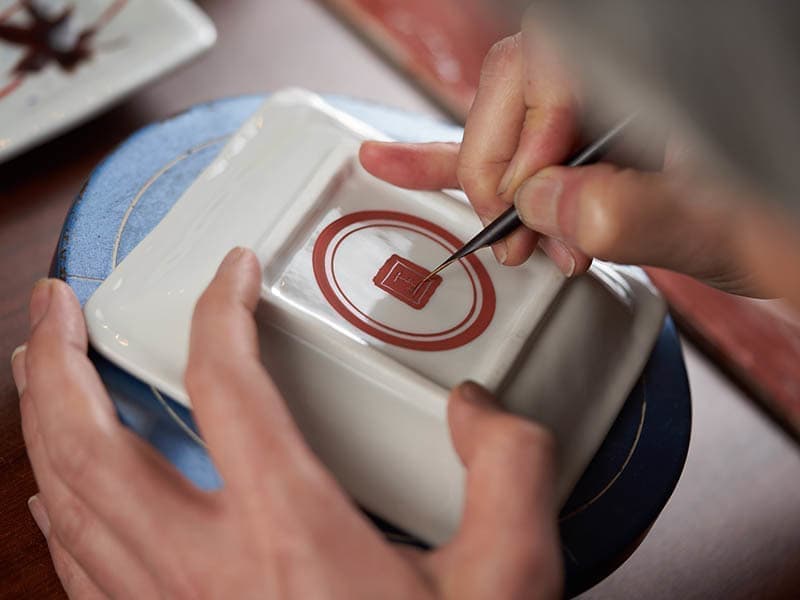
It’s a good idea to put your signature and the date on the front or back of the pot.
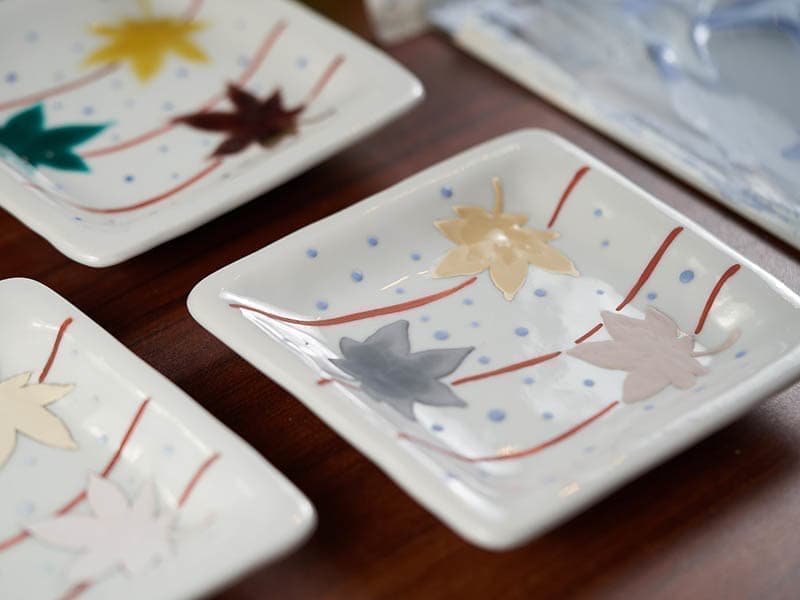
7. Finishing touches
The craftsman will fire the pot and ship the finished item. It takes one month to two months for it to arrive.
Experience flow:
1. Design
If you are finding it difficult to think of an original design, you can use an existing design pattern.

2. Apply gelatin to the pot

3. Sketch

4. Preparation of paints
Colors other than red will look different after the pot has been fired. It’s a good idea to use a simple color scheme to help you visualize the finished item.

5. Paint with a brush
Red will produce a strong color even when applied lightly, so move the brush freely. It is also suitable for detailed designs and writing characters.
*Colors cannot be mixed.
*Different colors cannot be applied on top of each other.


6. Sign

7. Finishing touches
The craftsman will fire the pot and ship the finished item. It takes one month to two months for it to arrive.

